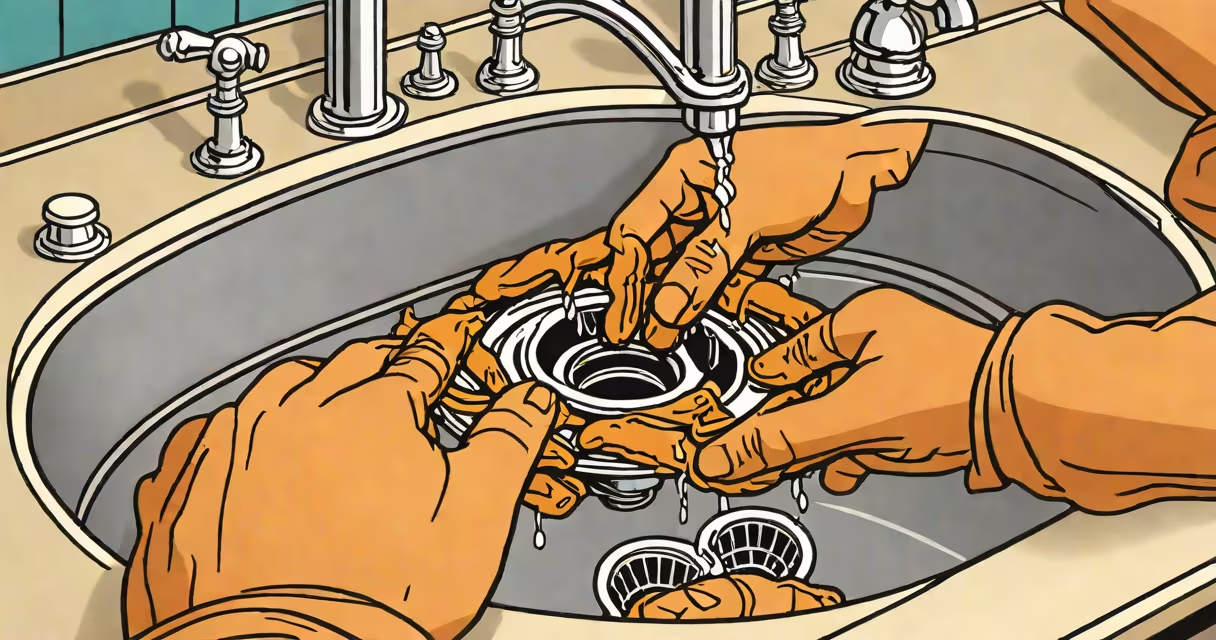
Removing an old sink drain involves disconnecting the P-trap, unscrewing the drain flange, and extracting the old drain assembly from beneath the sink. This process requires basic tools and careful handling of plumbing components to avoid leaks or damage.
The sink drain connects to the P-trap via a slip nut and rubber gasket. Over time, corrosion, mineral buildup, or wear can make the drain difficult to remove. A failed seal often leads to slow drainage or leaks, signaling the need for replacement. This task is manageable for most homeowners with a wrench, pliers, and a bucket.
Before starting, shut off the water supply valves under the sink. Place a bucket beneath the P-trap to catch residual water. Use a crescent wrench to loosen the slip nut connecting the P-trap to the drain tailpiece. Once disconnected, remove the trap and set it aside. This exposes the drain flange and locknut underneath.
Standard tools include a wrench, pliers, a screwdriver, and a putty knife. A drain removal tool (also called a drain wrench) is designed specifically for gripping the flange's inner edge. These tools prevent slippage and reduce the risk of damaging the sink surface.
For stubborn drains, apply penetrating oil like WD-40 to the locknut and let it sit for 10 minutes. This breaks down rust and scale. Avoid using excessive force-over-tightening during reinstallation causes cracks in the sink or pipe joints.
Always wear gloves and eye protection. Old drain assemblies may contain lead solder or corroded metal fragments. Disposal of old parts should follow local waste regulations. Some municipalities require lead-containing materials to be taken to hazardous waste centers.
Begin by placing a towel or rags under the sink to absorb drips. Remove the sink's overflow cover plate if present-this is usually held by a small screw. Unscrew the locknut beneath the sink using a wrench. Turn counterclockwise until loose.
Once the locknut is free, pull the drain assembly upward. If resistance remains, wiggle gently side to side. Use a putty knife to scrape away dried plumber's putty from the sink rim. Do not pry too hard-this can chip ceramic or porcelain surfaces.
After removal, inspect the sink's drain hole. Look for cracks, warping, or debris buildup. Clean the area with a damp cloth and mild cleaner. Check the condition of the P-trap and tailpiece. Replace any cracked or corroded parts before installing the new drain.
One frequent mistake is assuming the drain flange turns freely. In reality, many older models have a threaded shaft that doesn't rotate independently. Forcing the flange can break the internal mechanism. Always check the manufacturer's design before applying torque.
Another issue is hidden debris in the drain hole. Mineral deposits or hair can bind the flange in place. Use a wire brush or a flexible cleaning rod to dislodge buildup. If the drain won't budge, apply heat with a hair dryer to expand the metal slightly-this helps break the bond between parts.
During installation, ensure the new drain's gasket is seated properly. A misaligned gasket causes leaks. Test the seal by running water slowly and checking for drips under the sink. If leaks appear, tighten the locknut incrementally-do not overtighten.
If the drain is fused to the sink due to years of corrosion, or if the P-trap is inaccessible due to tight space, professional assistance is recommended. Plumbers have specialized tools like drain extractors and long-handled wrenches for confined areas.
Also seek help if you notice signs of water damage behind the sink or in the cabinet. Leaks may indicate deeper issues like pipe deterioration or improper previous repairs. A licensed plumber can assess structural integrity and recommend upgrades.
After removing the old drain, clean the area thoroughly. Use a mixture of baking soda and vinegar to dissolve residue. Pour ½ cup baking soda into the drain, then 1 cup vinegar. Let it fizz for 15 minutes, then flush with hot water.
One non-obvious detail: some older sinks use a "pop-up" drain system with a pivot rod and linkage. Removing the old unit requires detaching the rod from the overflow tube. Failure to do so results in broken plastic parts or bent rods during extraction.
Consider a 15-year-old kitchen sink with a persistent leak around the drain. The homeowner shuts off the water, places a bucket under the P-trap, and removes the slip nut. After disconnecting the trap, they find the locknut is seized.
They spray penetrating oil on the locknut and wait 10 minutes. Using a 10-inch adjustable wrench, they apply steady pressure counterclockwise. After five minutes of gentle turning, the nut loosens. They pull the drain upward and discover hardened plumber's putty and hair clogging the flange.
Using a putty knife, they scrape the residue from the sink's rim. They inspect the drain hole and see no cracks. They replace the P-trap with a new one and install a new drain assembly with a fresh gasket. After tightening the locknut by hand, they test the connection with water flow. No leaks occur.
This process took approximately 45 minutes and required no special skills beyond basic tool use and attention to detail.
Understanding how to remove old drain from sink prevents recurring leaks and prepares the sink for a new fixture. It's a foundational skill in home maintenance, especially when upgrading to a newer model with improved sealing mechanisms.