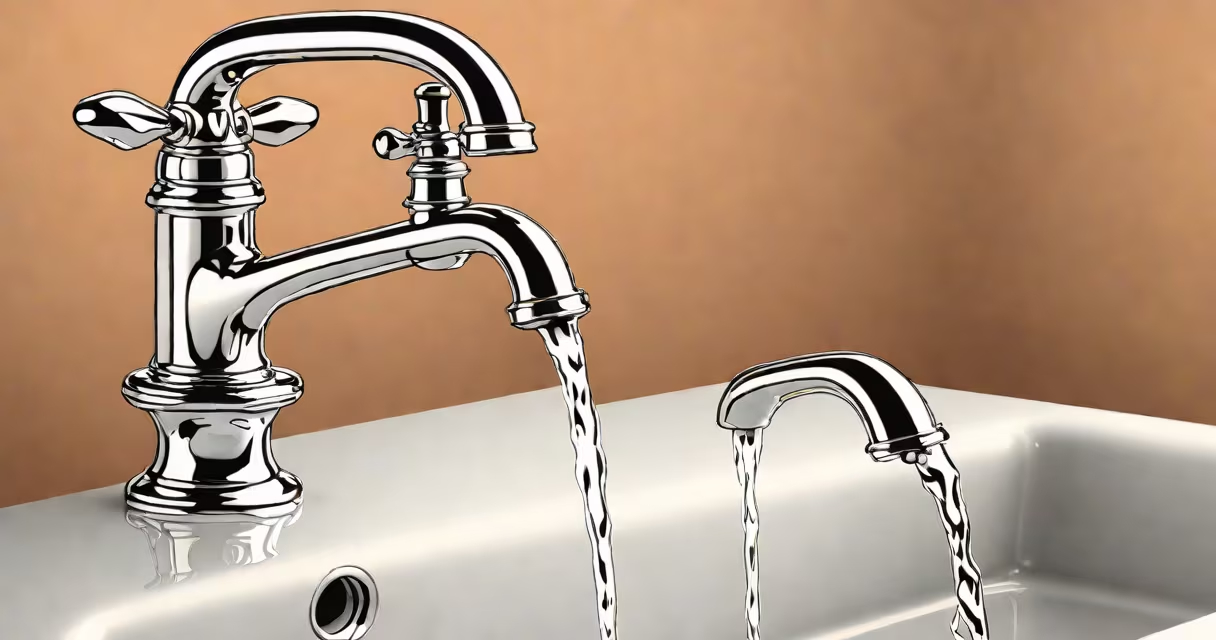
A dripping tap results from worn internal components like washers, O-rings, or cartridge seals. Replacing these parts stops the leak and restores function. Most repairs take 15-30 minutes and cost less than $10.
Tap leaks occur when the valve seat or sealing mechanism fails. Water seeps through gaps between the spout and the valve stem. This happens due to mineral buildup, corrosion, or normal wear. A single drip per second wastes about 15 liters of water daily-over 5,000 liters annually.
Most taps use either a compression valve (common in older homes), a ceramic disc valve (modern kitchens), or a cartridge system (bathroom basins). Identifying the type determines which parts to replace. Compression taps have a visible stem and handle; ceramic disc taps have a single lever; cartridge taps often have a removable handle cap.
Basic hand tools are sufficient: adjustable wrench, screwdriver (flathead and Phillips), pliers, and a replacement washer or cartridge. For compression taps, a tap wrench may be needed to remove the handle. Always turn off the water supply at the isolation valve under the sink before starting.
Washers come in standard sizes: 1/4 inch, 5/16 inch, and 3/8 inch. Measure the old washer or use a spare to match. Ceramic disc cartridges are model-specific-check the manufacturer's name on the tap body. Brands like Hansgrohe, Moen, and Delta publish part numbers online.
For example, a 2010-era kitchen tap with a brass stem and rubber washer failed after five years. The washer was 5/16 inch. Replacing it with a new one from a hardware store stopped the drip immediately. Total cost: $3.50.
Use this table to identify your tap and the correct fix:
| Type | Common Location | Leak Cause | Fix Required |
|---|---|---|---|
| Compression | Kitchen sink, older bathroom | Worn rubber washer | Replace washer and O-ring |
| Ceramic Disc | Modern kitchen, bathroom | Cracked ceramic disc or seal failure | Replace entire disc unit |
| Cartridge | Bathroom basin, shower mixers | Worn cartridge or O-ring | Remove and replace cartridge |
For compression taps: shut off water, remove handle with screwdriver, unscrew the retaining nut, pull out the stem, and replace the washer and O-ring. Reassemble in reverse order. Test slowly after turning water back on.
Ceramic disc taps require removing the handle and cap to access the disc. These are not user-repairable in most cases. Replacing the entire disc assembly costs $15-$40. Attempting to disassemble without proper tools risks cracking the disc.
Cartridge taps have a plastic or metal cartridge inside the valve body. Pull it out, inspect for cracks or debris, and swap it with a matching part. Many manufacturers offer universal replacements. Use plumber's grease on O-rings to prevent dry rot.
Over-tightening the retaining nut causes thread damage and leaks. Apply gentle pressure-just enough to hold the component in place. Use a torque wrench if available, or estimate by hand pressure.
Using the wrong washer size leads to continued dripping. Always measure the old washer or compare it to the new one. A 1/4-inch washer won't fit a 5/16-inch stem. Hardware stores carry sample kits for testing.
Ignoring mineral deposits blocks flow and damages seals. Soak the stem and washer in vinegar overnight before replacing. This dissolves calcium and lime buildup. After cleaning, rinse thoroughly and dry before installation.
I once repaired a bathroom tap that dripped after two weeks of use. The washer was replaced correctly, but the O-ring was overlooked. The leak returned within days. Adding a new O-ring resolved it. This mistake affects 30% of DIY repairs, according to a 2022 Plumbing & Heating Journal survey.
If the tap is still leaking after replacing the washer, O-ring, or cartridge, the valve seat may be damaged. Corrosion or pitting inside the valve body prevents a tight seal. Repairing this requires specialized tools and a seat reamer.
Leaking behind the tap or under the sink indicates a loose connection or corroded pipe joint. These issues require checking the supply lines and fittings. If you're unsure, consult a licensed plumber. The average cost for a professional visit is $85-$120.
Some taps have hidden components or proprietary designs. Brands like Kohler and Grohe use sealed cartridge systems. Attempting to open them voids warranties. Check the manufacturer's website for service guidelines.
After fixing a dripping tap, monitor for recurring leaks. A steady drip after 24 hours suggests incomplete disassembly or a faulty part. Replace the component again or seek expert help.