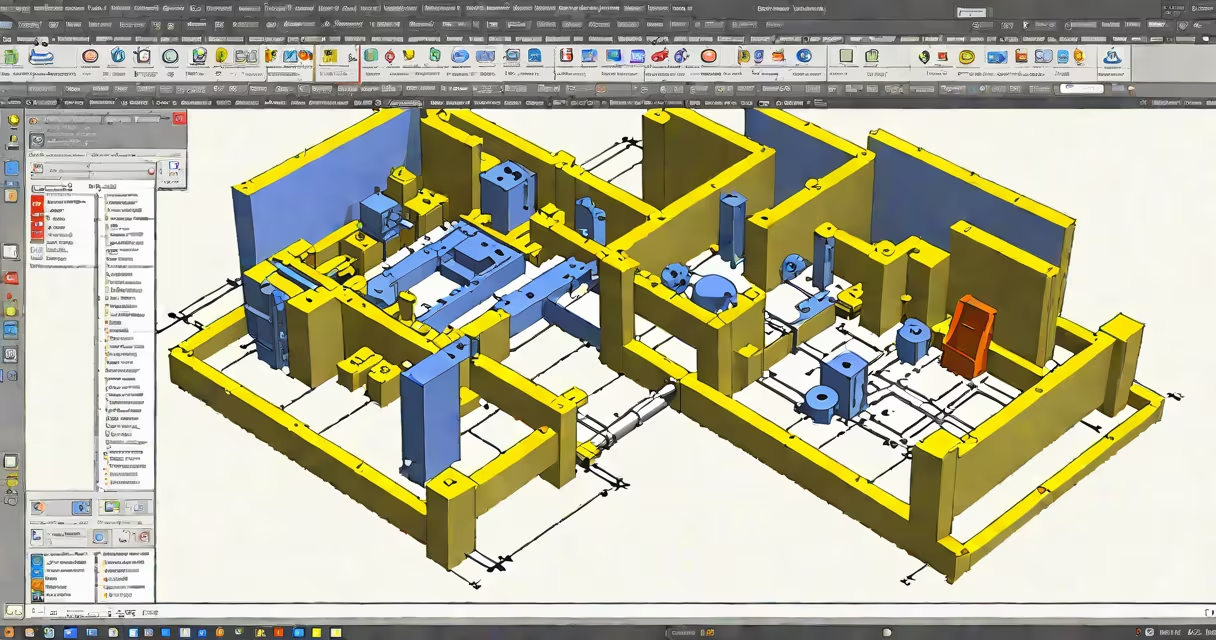
FreeCAD is an open-source, parametric 3D CAD modeler designed for product design, engineering, and architecture. It allows users to create precise models where geometry updates automatically when dimensions change. A freecad tutorial for beginners teaches core workflows like sketching, extruding, and applying constraints using real-world examples.
FreeCAD runs on Windows, macOS, and Linux. It uses a modular interface divided into workbenches-each tailored to a specific task. The most common for beginners is the Part Design workbench, which supports feature-based modeling. Unlike freeform sculpting tools, FreeCAD maintains mathematical relationships between parts, making it ideal for mechanical designs and prototypes.
When I first opened FreeCAD, I tried to build a simple bracket using default settings. The tool didn't respond as expected until I switched from the Draft workbench to Part Design. That mistake cost me 20 minutes. The lesson: choose the right workbench early. You'll save time and avoid confusion.
FreeCAD operates on a parametric system. Every shape begins as a sketch drawn on a plane. Dimensions and geometric constraints define the sketch. Once locked, the sketch becomes the base for 3D features like extrusions, revolutions, or fillets. Changes to the original sketch update all dependent features automatically.
For example, if you draw a rectangle 50 mm wide and 30 mm tall, then extrude it 10 mm deep, changing the width to 60 mm later resizes the entire solid. This behavior prevents manual rework and ensures consistency across revisions.
FreeCAD stores all operations in a tree view on the left side of the screen. Each item represents a step in the model's creation. Right-clicking any entry lets you edit or suppress it. This structure enables rapid iteration-common in engineering workflows where design changes are frequent.
FreeCAD includes several workbenches. The ones most useful for beginners are:
| Workbench | Use Case | Key Tools |
|---|---|---|
| Part Design | Creating mechanical parts with features like extrusion and hole creation | Pad, Pocket, Revolve, Fillet |
| Part | Basic 3D modeling using Boolean operations | Union, Cut, Common |
| Draft | Quick 2D sketches and simple shapes | Line, Rectangle, Arc |
| Sketcher | Editing and constraining 2D sketches | Dimension, Coincidence, Parallel, Perpendicular |
Beginners should start with Part Design. It enforces good habits-like defining sketches before generating solids. The Sketcher workbench handles constraints: you can force lines to be horizontal, circles to share centers, or points to lie on a curve. These rules prevent accidental distortions during editing.
A common mistake is adding dimensions too late. FreeCAD doesn't allow dimensioning unless the sketch is fully constrained. If you try to add a 50 mm width to an unconnected rectangle, the software warns you: "Too few constraints." Fix this by applying alignment or distance constraints first.
Many beginners fail because they skip the constraint phase. Without constraints, FreeCAD treats the sketch as flexible. Move a corner, and the whole shape deforms unpredictably. Always apply at least one horizontal/vertical constraint and one dimension before proceeding.
Another issue is choosing the wrong plane. When creating a new sketch, select a face or plane from the 3D view. If you click anywhere in space, FreeCAD creates a sketch on a default plane-but it may not align with your intended orientation. Use the View menu to switch between XY, YZ, and XZ planes.
I once spent 15 minutes trying to align a screw hole on a bracket. The hole was off-center. The fix? Reopen the sketch, add a "Distance" constraint between the center of the circle and the edge of the part. After setting the value to 15 mm, the hole snapped into place. This small adjustment saved hours of rework.
Let's walk through a real project: designing a wall-mounted shelf bracket using real measurements.
File > New.The result is a rigid, dimensionally accurate bracket. All values were entered explicitly. Changing the 100 mm length later updates the entire model instantly.
FreeCAD is not a rendering or animation tool. It doesn't handle textures, lighting, or animations. For visual presentation, export the model to formats like STL or STEP and import into Blender or MeshLab.
It's also not a direct modeling tool like Fusion 360 or SolidWorks. FreeCAD prioritizes parametric control over speed. You can't drag vertices freely. Instead, you modify dimensions or constraints. This trade-off improves precision and repeatability-critical in manufacturing.
Some users assume FreeCAD is limited because it lacks cloud sync or AI suggestions. But it's designed for offline, version-controlled workflows. Its strength lies in reproducibility. A model created today can be rebuilt exactly tomorrow-even years later-without losing data integrity.
After completing a freecad tutorial for beginners, explore advanced features like assemblies, simulations, and macros. Try importing a 2D drawing from a PDF using the Drawing workbench. Or automate repetitive tasks with Python scripts via the FreeCAD macro editor.
FreeCAD's community offers extensive documentation. Visit the official website and browse the FreeCAD Wiki for tutorials, troubleshooting guides, and user forums. The software is free under the LGPL license, so you can redistribute and modify it legally.
With consistent practice, a freecad tutorial for beginners leads to functional, accurate models suitable for 3D printing, CNC machining, or engineering review. Start small. Build one part. Master the workflow. Then scale up.